5 Common Post Processing Mistakes You should Avoid in Bird Photography
In today’s post, I am going to explain 5 common mistakes you should avoid in bird photography post-processing.
In fact, to avoid these mistakes I make some beautiful photos.
 If you want to edit your photos perfectly and do not want to ruin your hours of effort. you should avoid these mistakes.
So let’s get started.
Bird photography post-processing mistake you should avoid:
- Too much sharpening
- Cropping too tight
- Over vignetting
- Too much saturation
- Over noise reduction
1. Too much sharpening
So we all want to get the sharpest photo possible. And with this, there is no problem.
But when you used too much sharpening on your photos then the problem begins.
And you will get the noise and fake alike photos.
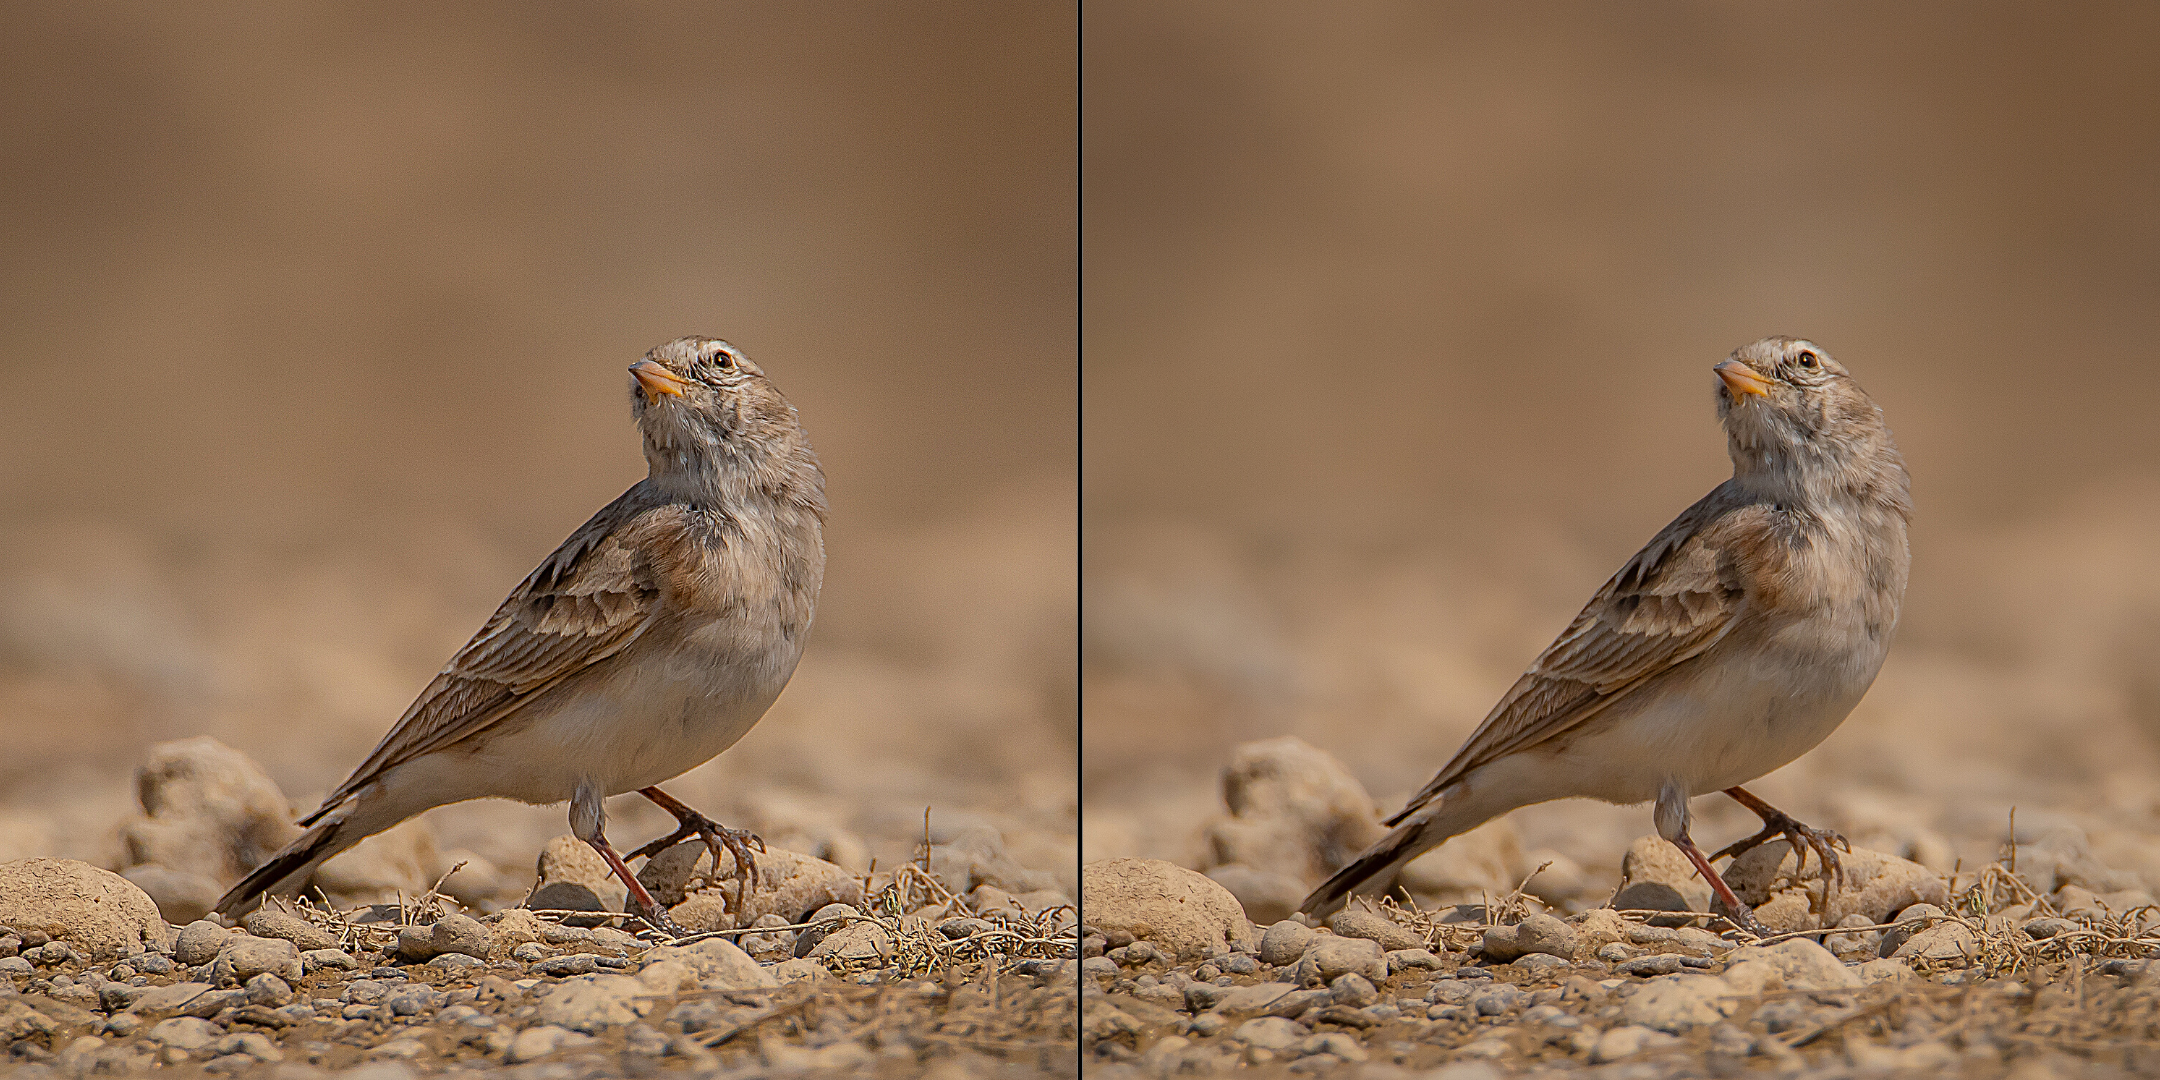
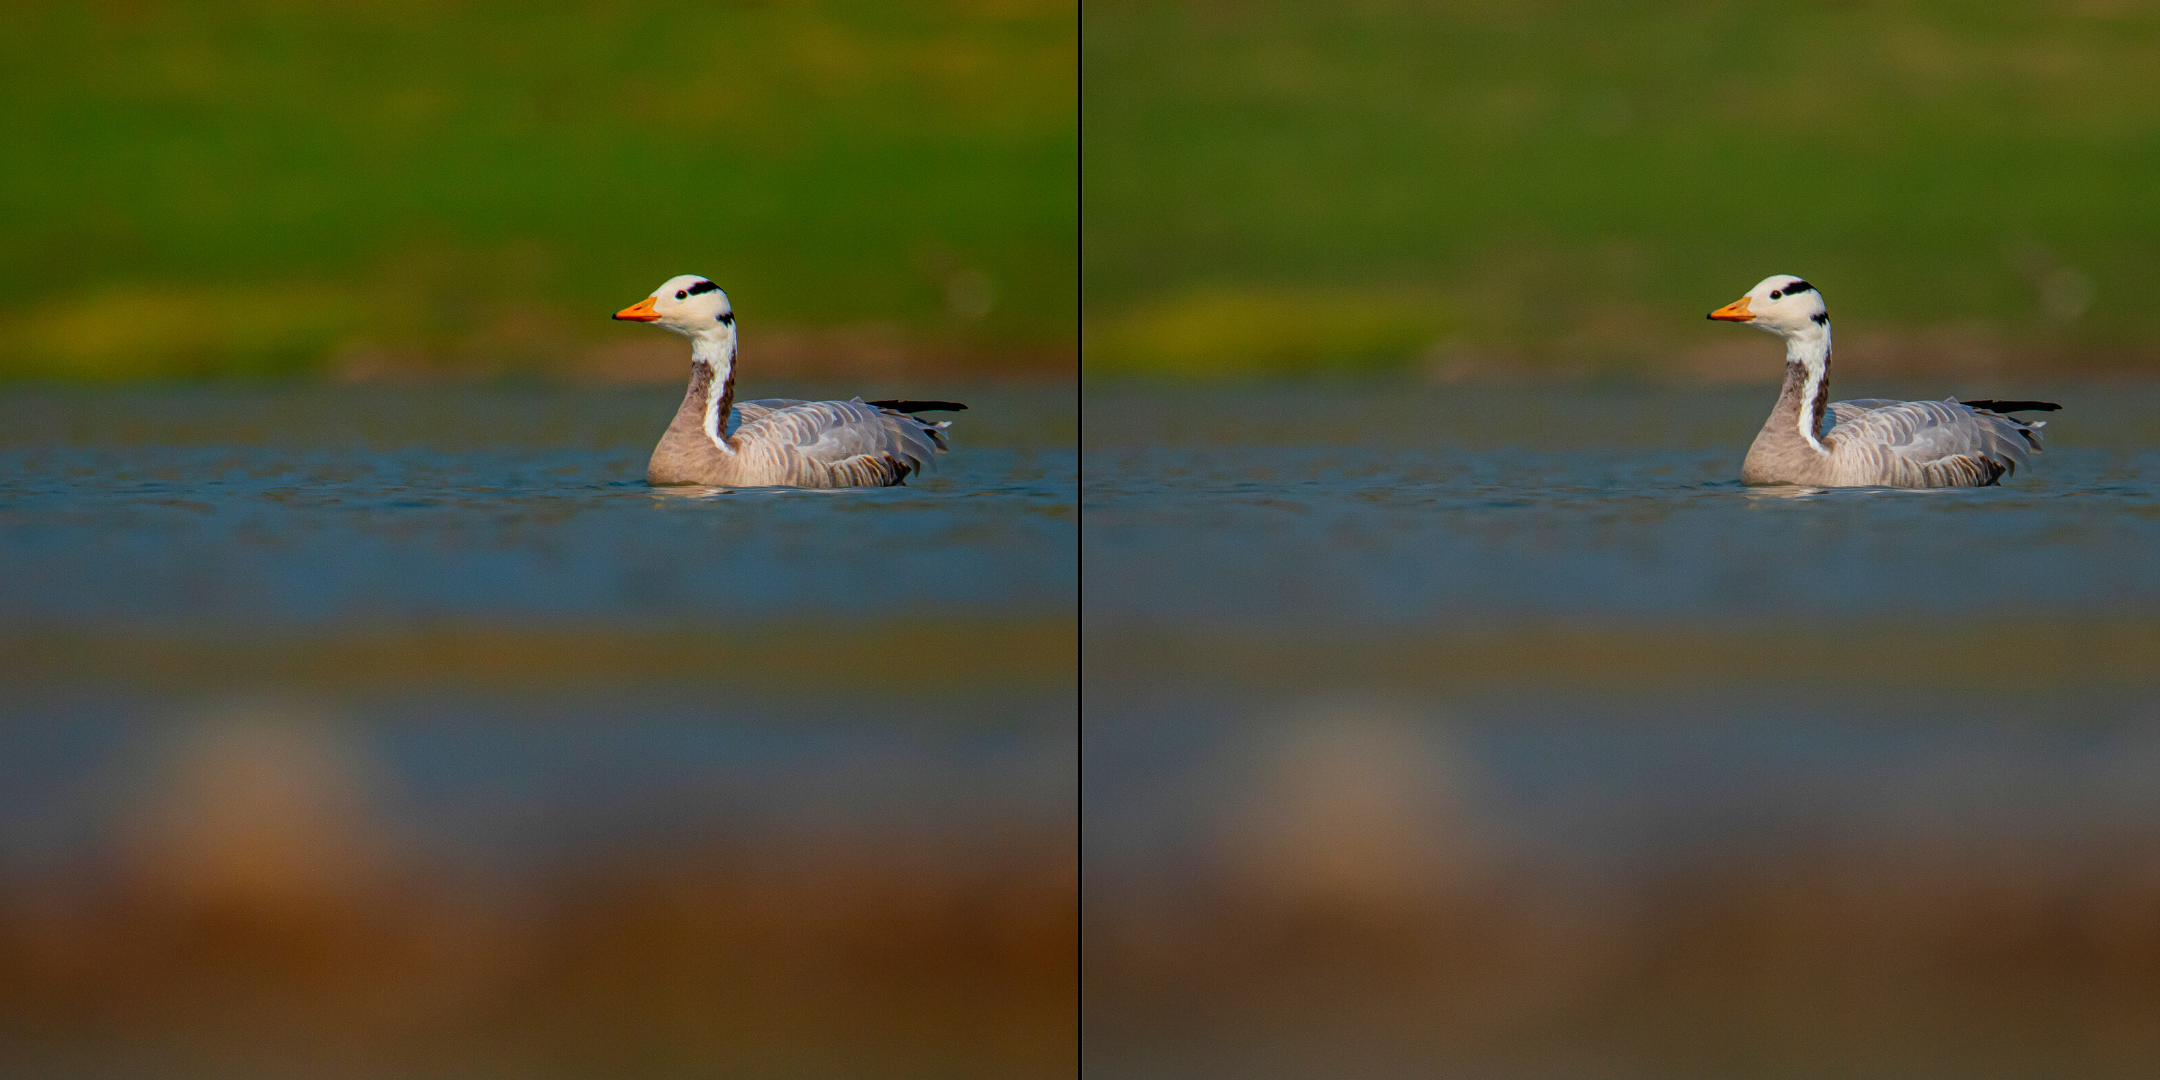
As you clearly noticed that the left photo has more noise than the right one. Because the left one has too much sharpening.
Pro tip: Never use sharpening to try to fix a photo that is out of focus. It just doesn’t work. Sharpening cannot fix blur. However, if you have an image that is in focus, adding a bit of sharpening can make it extra crisp and realistic.
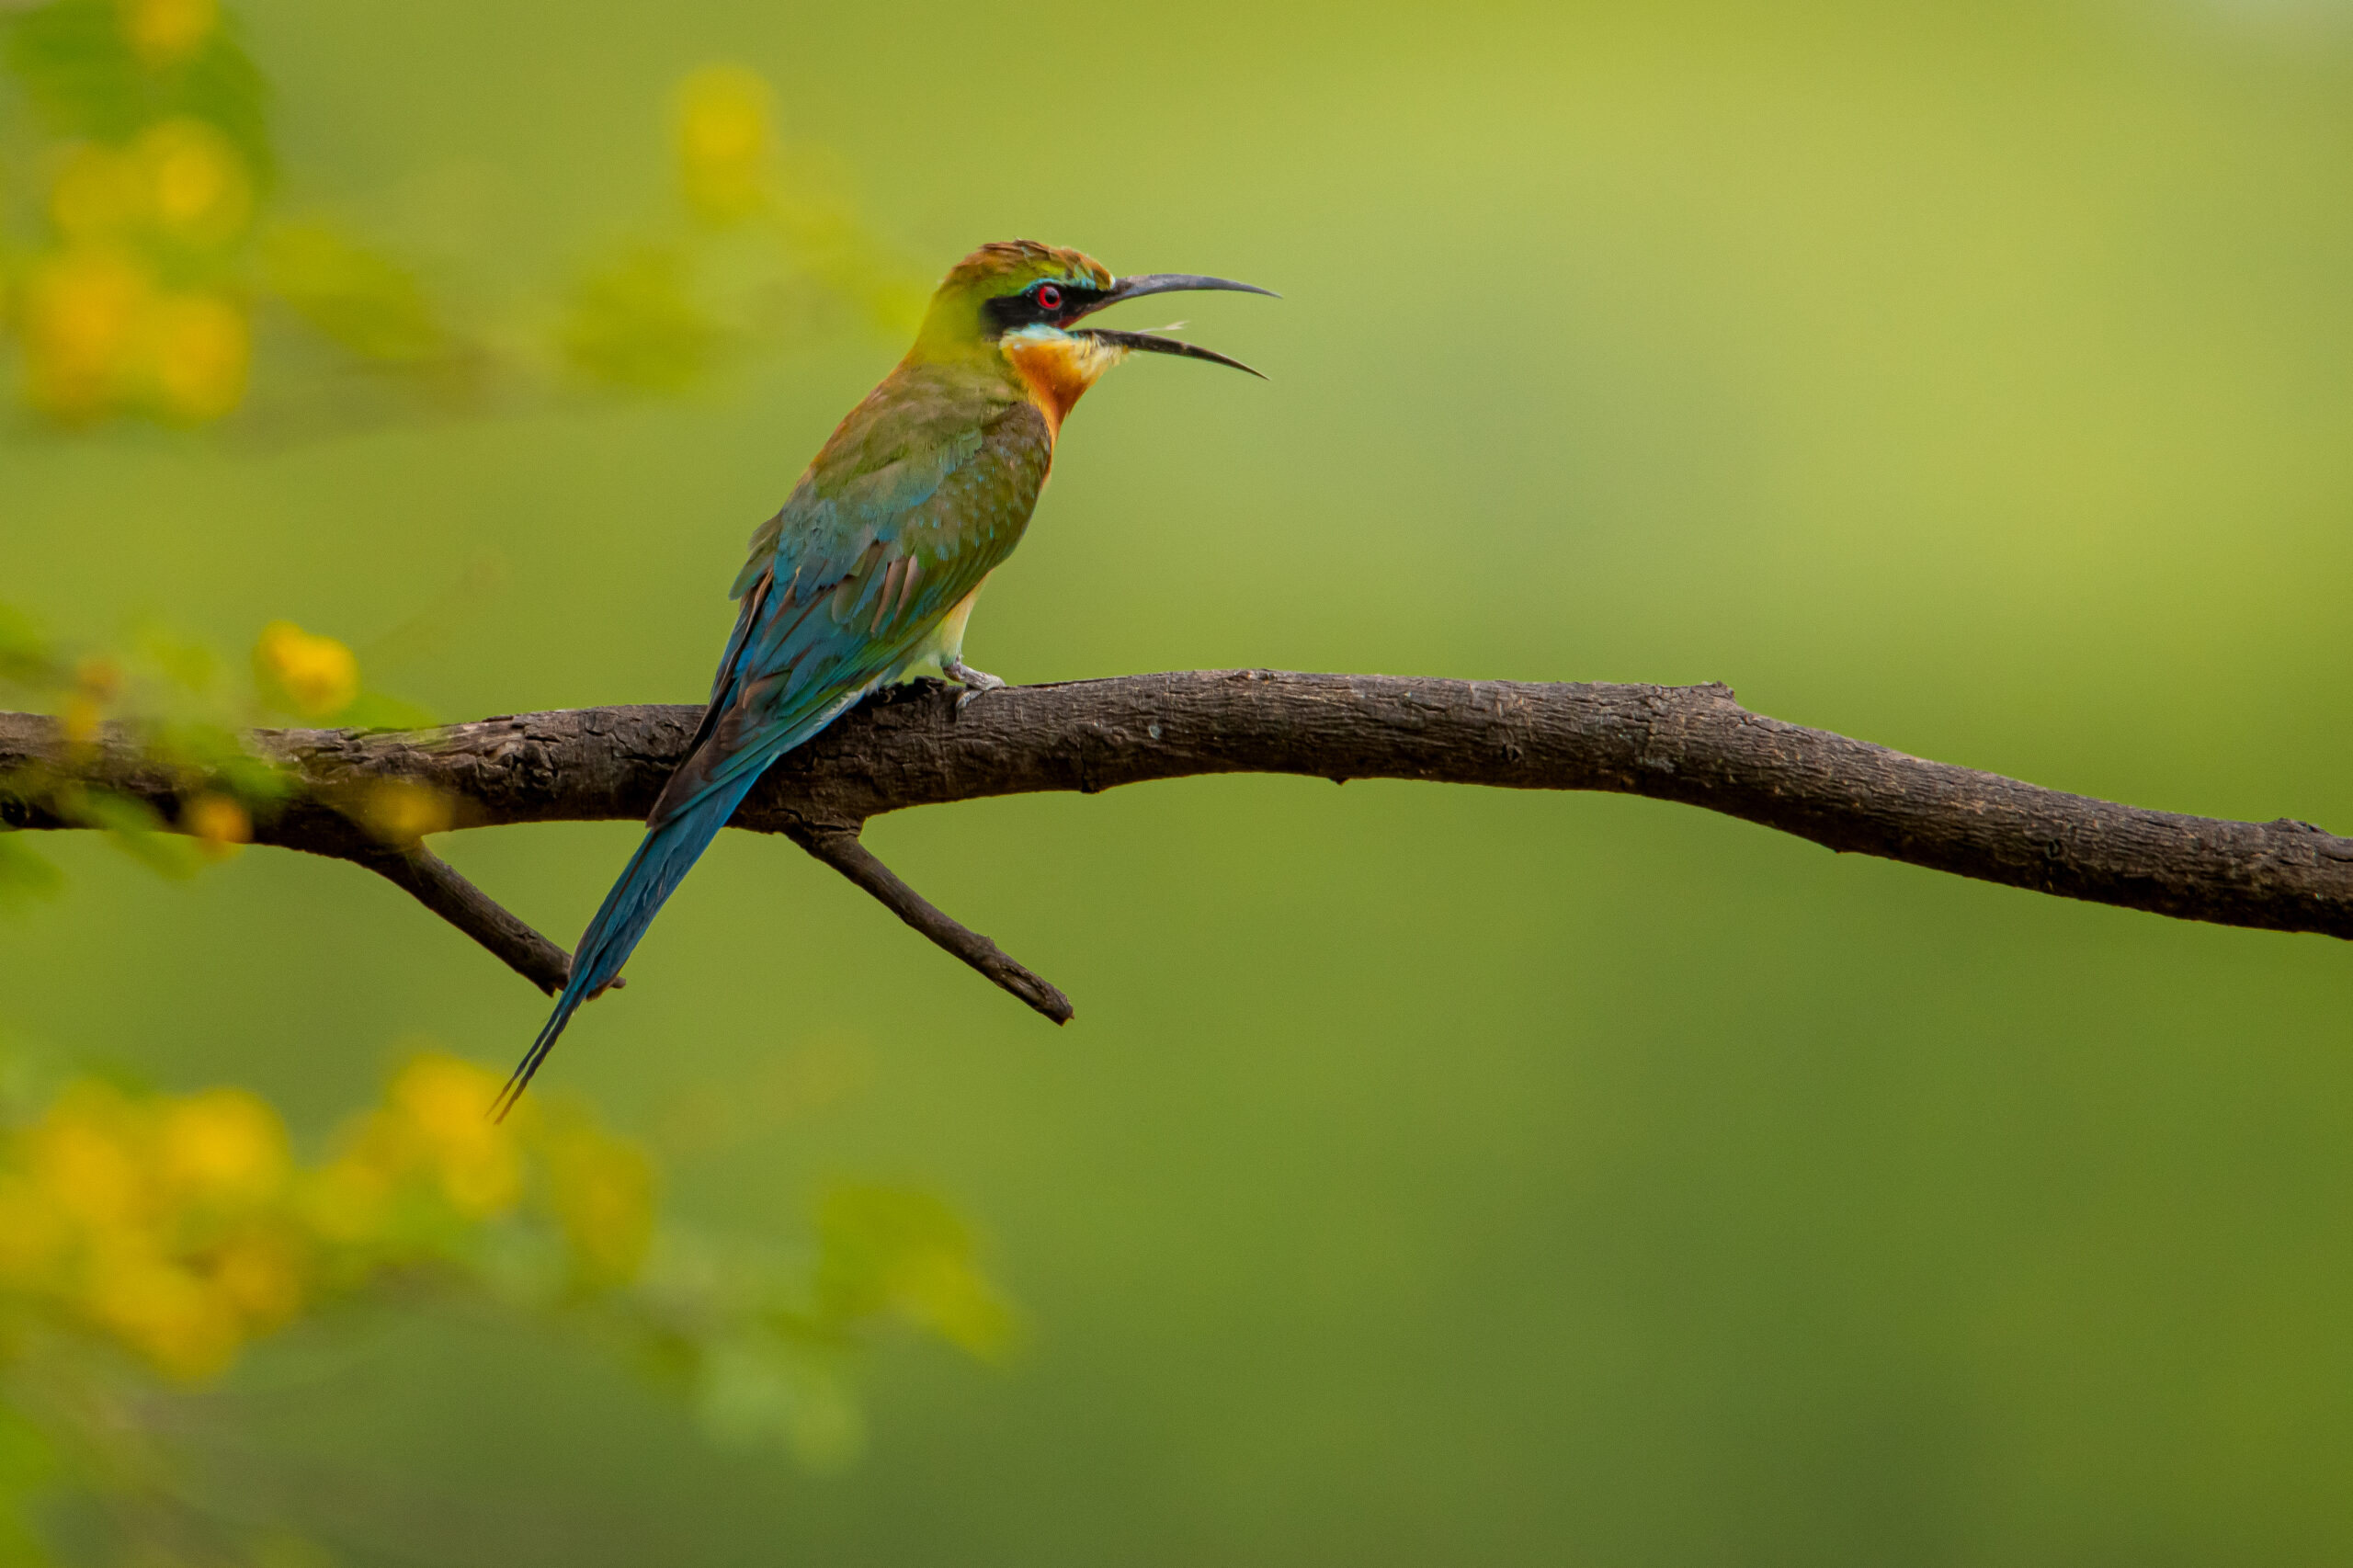
2. Cropping too tight:
Cropping is probably the first thing everyone learns in bird photography post-processing. Because it’s refining your composition, remove unwanted elements on the edges of the frame.
But here is the one thing to remember,
Don’t crop too tight because the little breathing room keeps the image interesting.
Pro tip: When you are cropping the photo using the grides in Lightroom.
3. Over vignetting:
So vignetting is a great way to catch your audience’s attention to your subject.
But don’t over vignette,
Because it looks, you are caging the subject.
Pro tip: Use selected editing tools to create an artistic look.
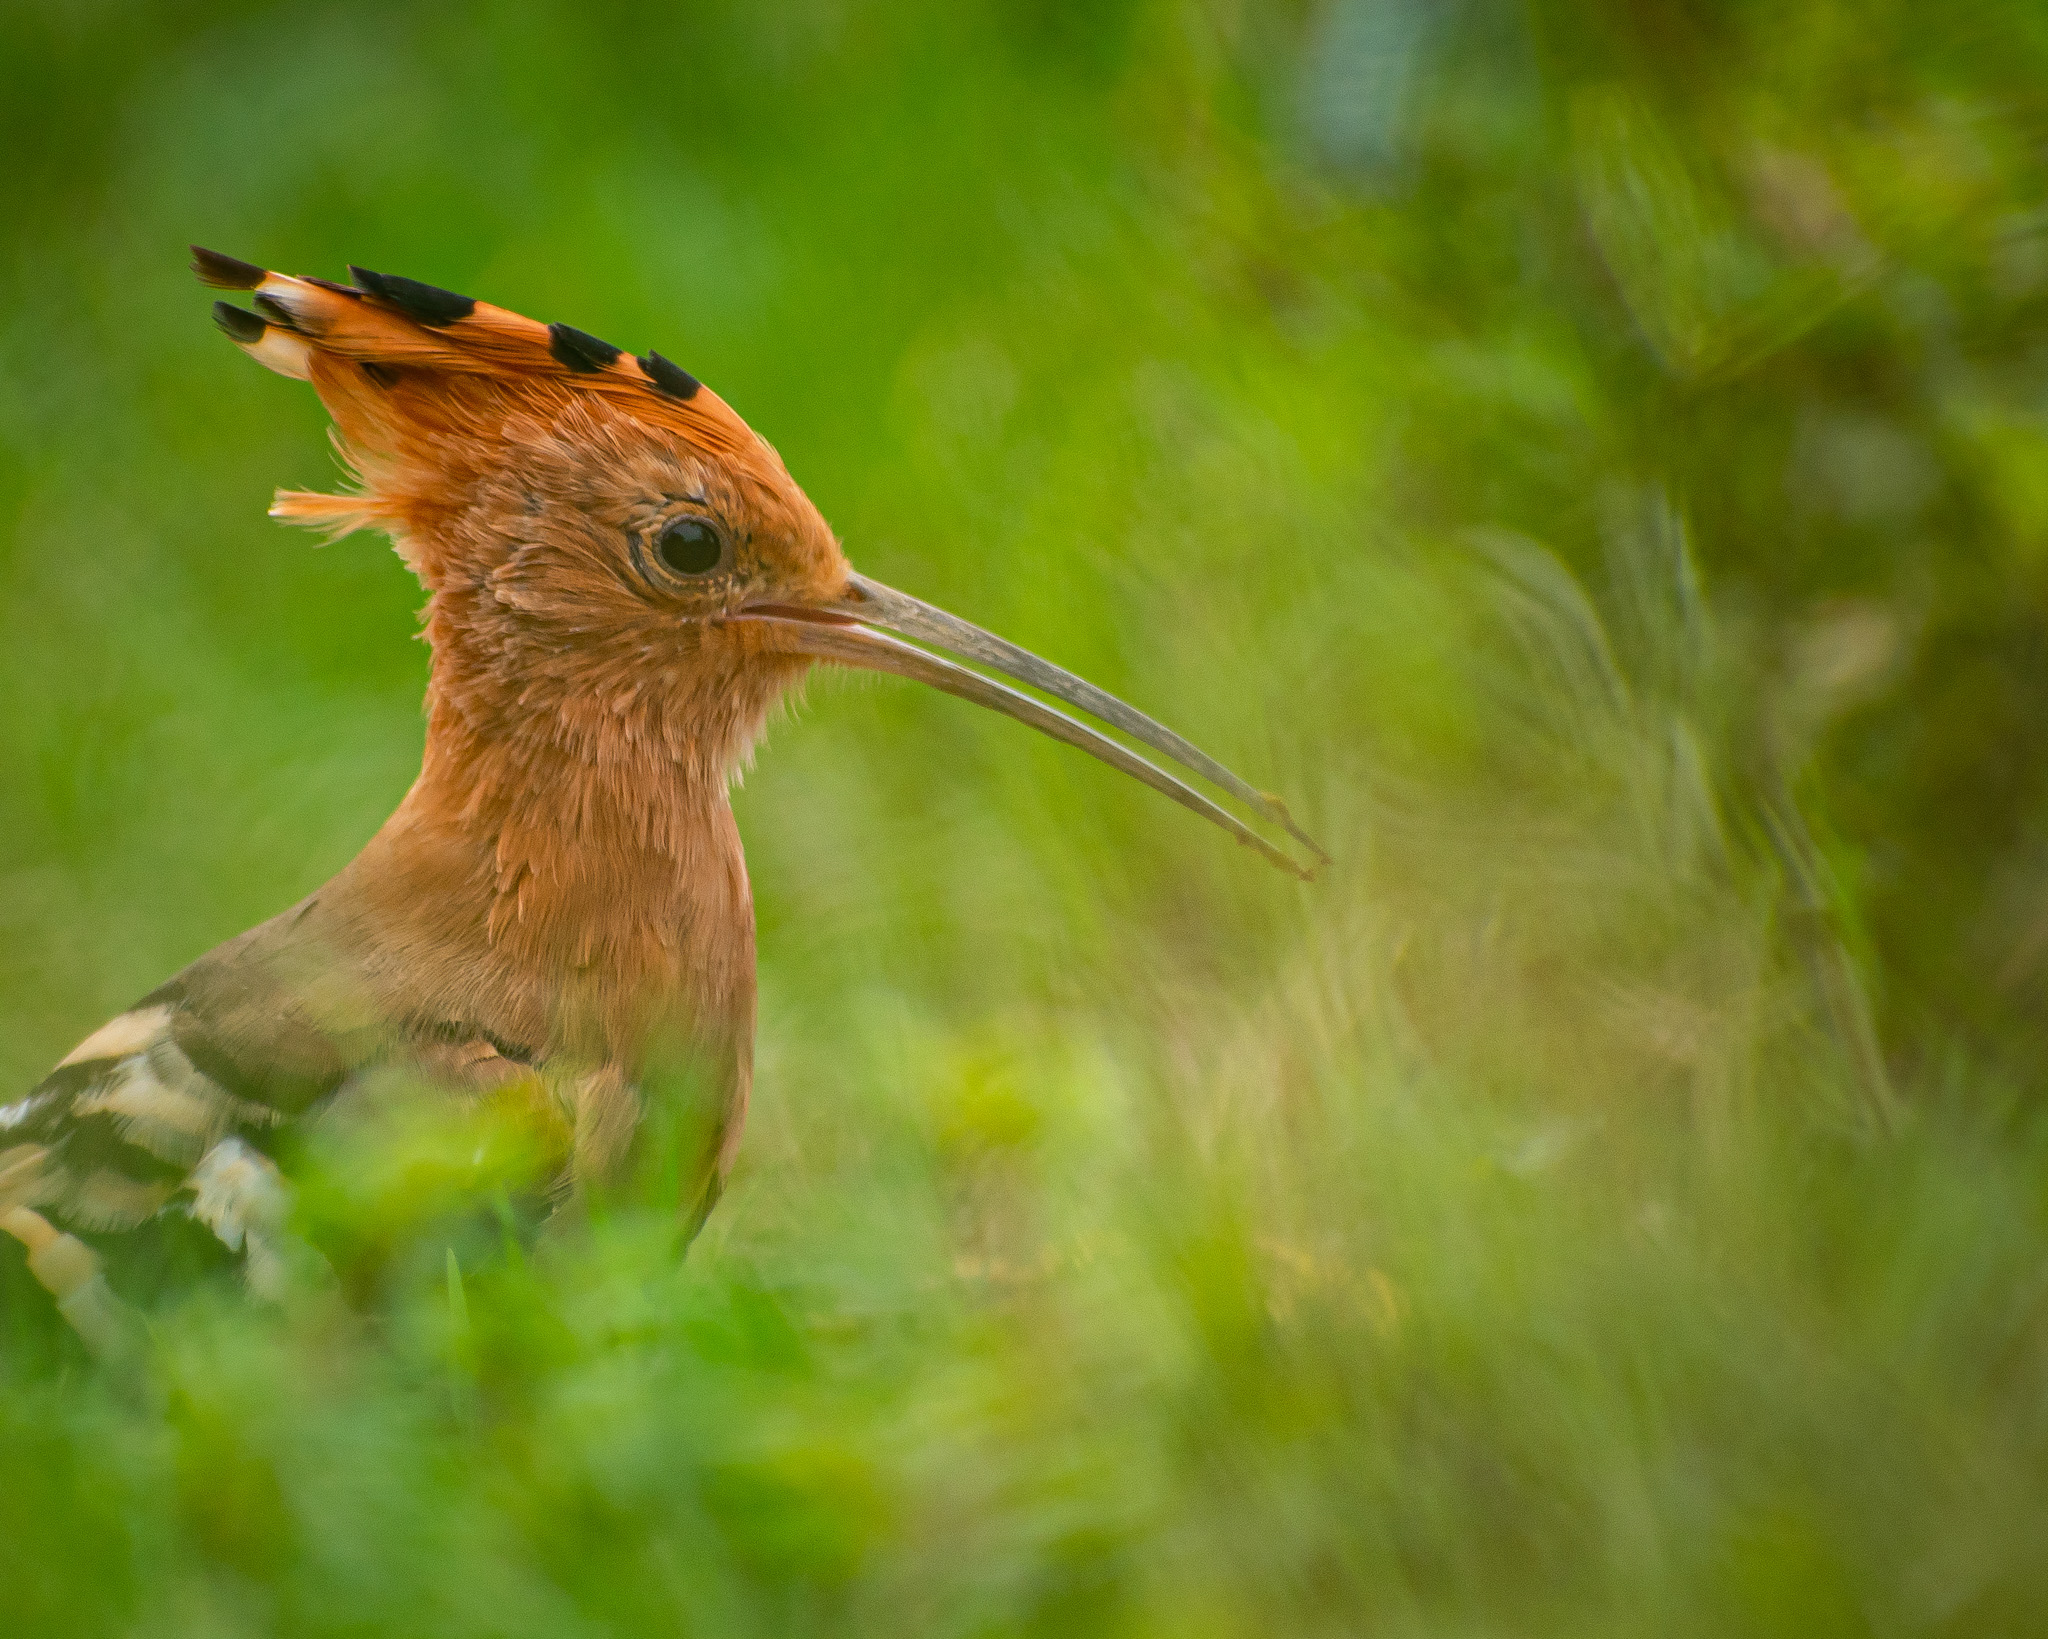
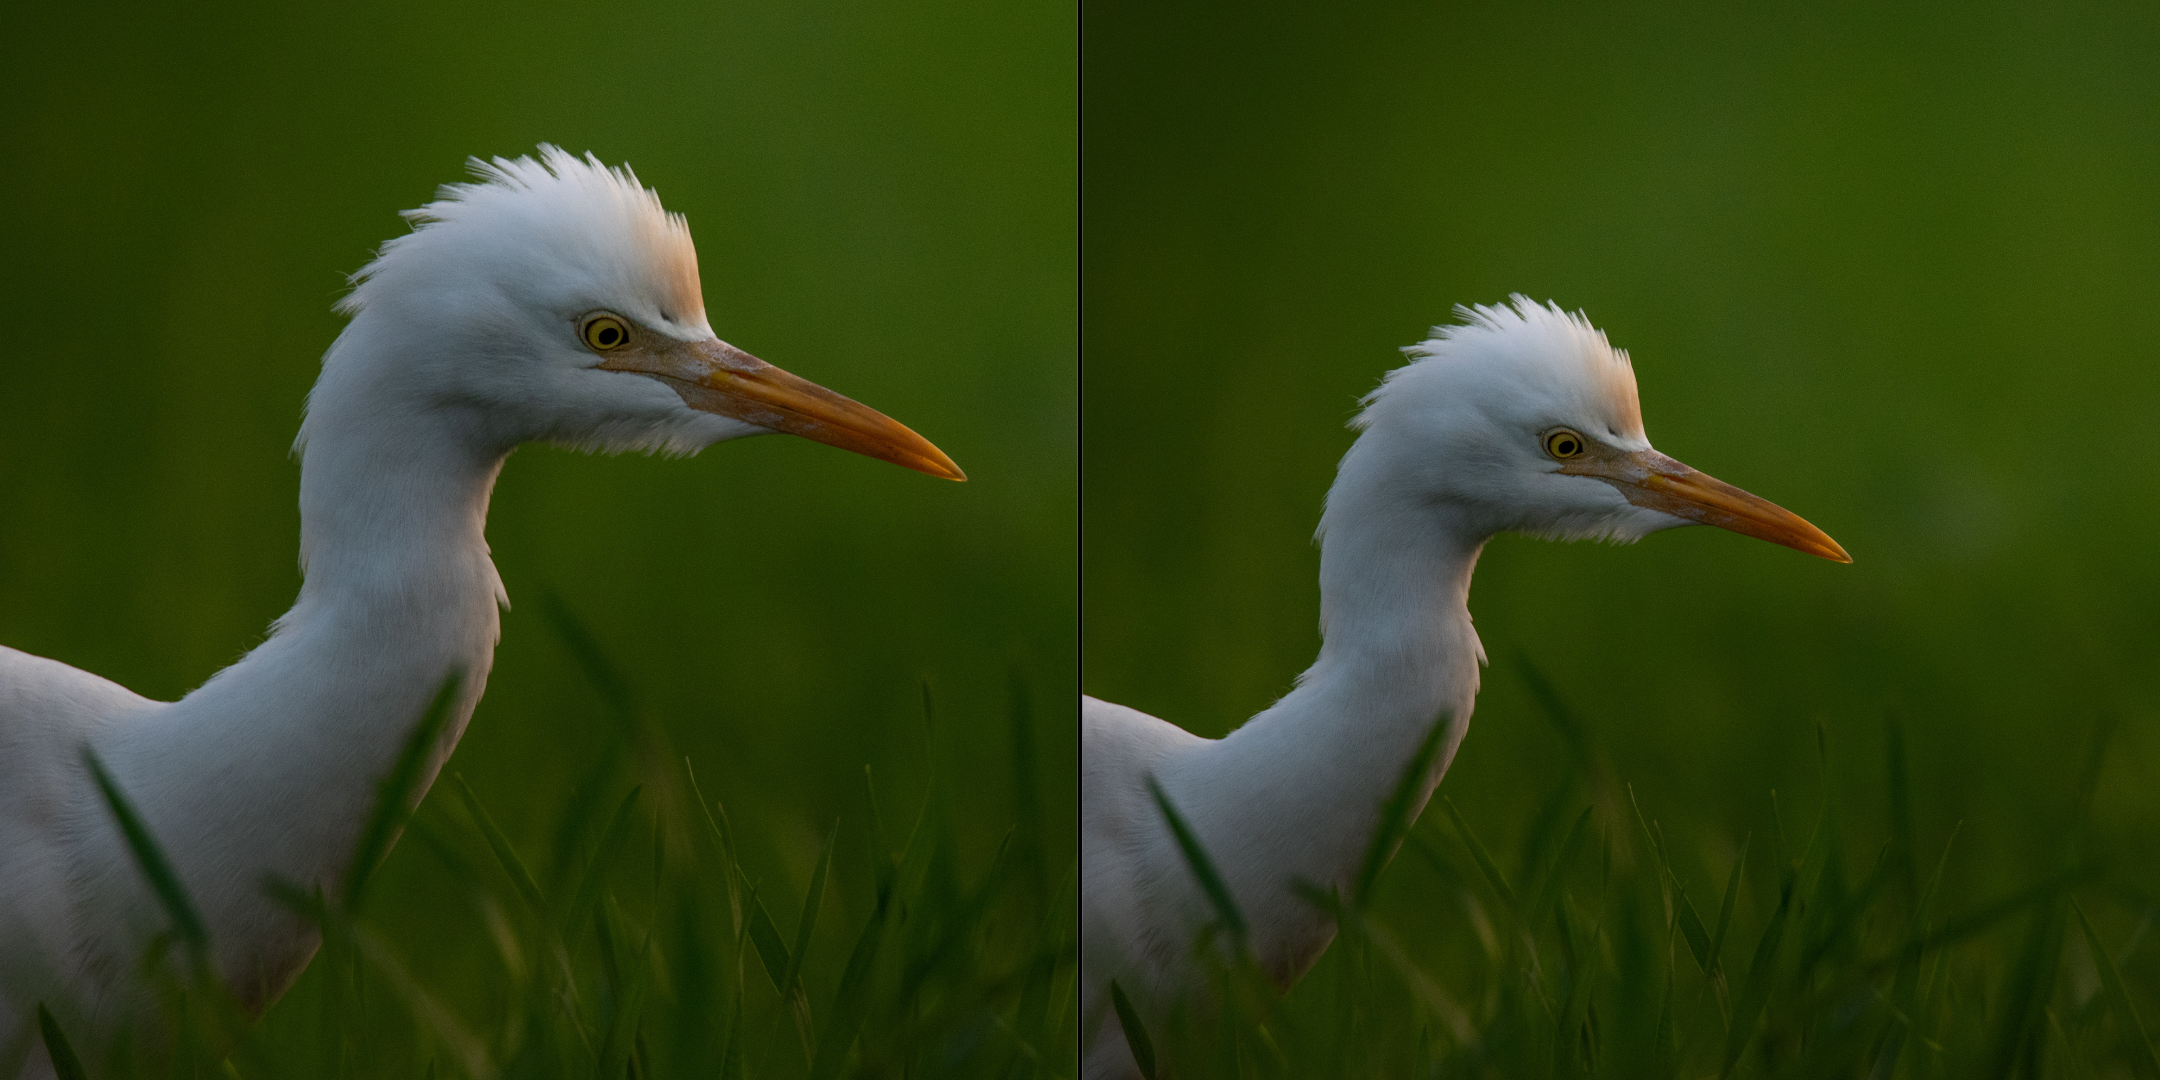
4. Too much saturation:
Birds are definitely colorful subjects and that is the reason we are all attracted to them. But are they so colorful?
Too much saturation looks overcooked. If you try to increase the contrast as the last step in bird photography post-processing workflow (which is usually recommended), then it will also increase the saturation.
Note that the Saturation slider increases the overall saturation of the image-making everything in the image is colorful. Do you really want everything in the image to look colorful? Do you want to emphasize the bird or the background?
So don’t do over saturation.
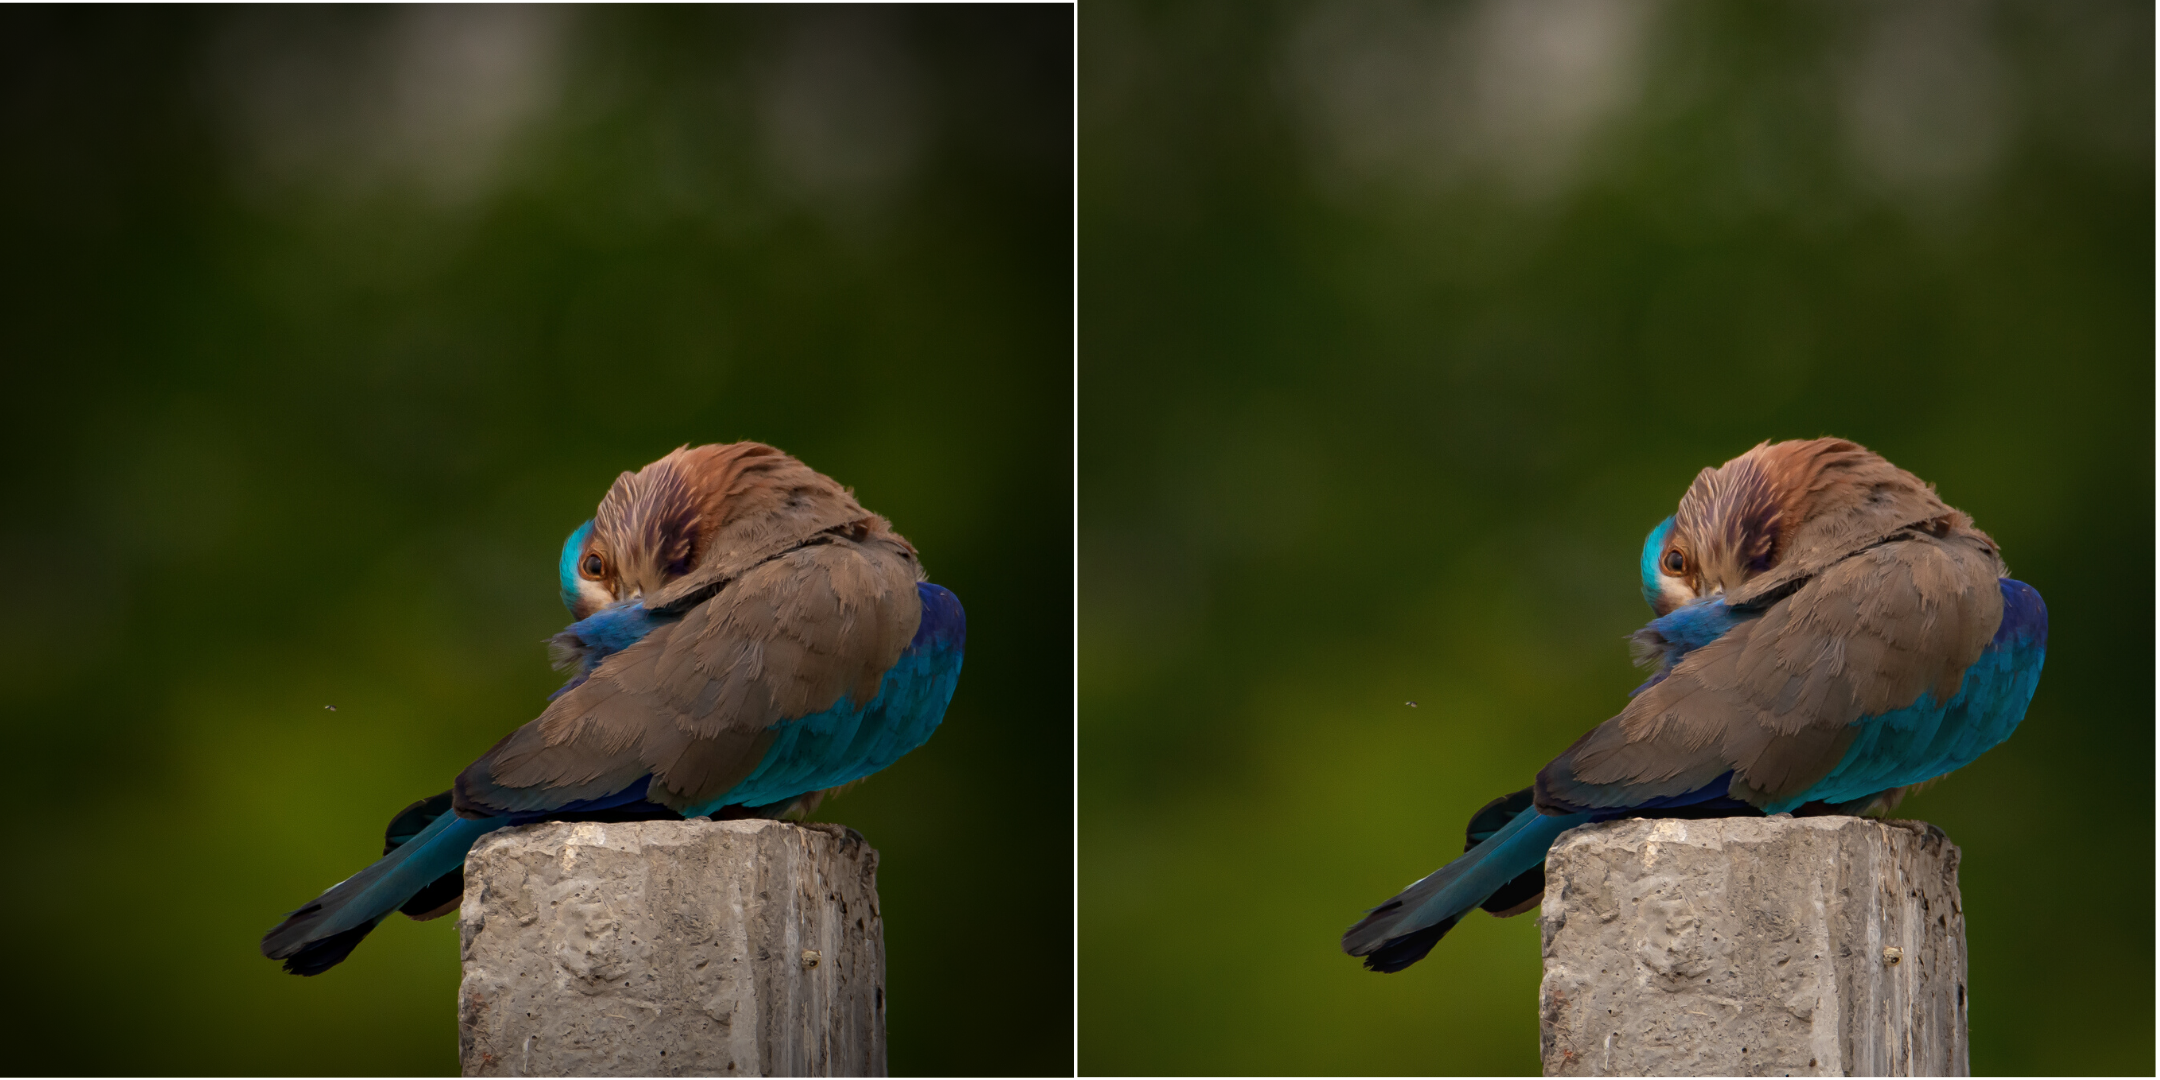
5. Over noise reduction:
Have you seen a wax statue of a bird in a shop? You can also see them on the web. Excessive noise reduction will give a plastic or wax statue look to your bird photographs.
While it is important to reduce the noise because most often we have to bump up the ISO to 400 or 800 to Photograph birds in flight, it is also important to understand what the Noise Reduction filter does. It smoothes out the edges, by smoothening out the minute and important details of the image and the bird.
So don’t overdo noise reduction.

Did I, Miss Anything?
Now I’d like to hear from you:
Which tip from today’s post are you going to try first?
Or maybe you have a question about something you read.
Either way, let me know by leaving a comment below right now.